

Please keep in mind that I am NOT a professional, and wouldn’t have attempted this on someone else’s device.
Just a quick blog post about a problem I’ve encountered recently with my Fujifilm X100V camera.
I’ve recently dropped it, and the outcome was that the shutter button was broken. I could still take pictures, but the “half-press” focus was not working anymore. In (I guess) all cameras, the shutter release button has a half-press step that makes the camera perform autofocus, and a full press then takes the shot.
So after dropping my camera, I couldn’t just focus without taking a picture. Of course, if you have continuous autofocus enabled, it’s not a problem, but I don’t think a lot of people use this feature.
When I googled my problem, the first thing I found on many forums is that it’s a big no-no to use a soft shutter release button on the X100V. I’m talking about this thing:
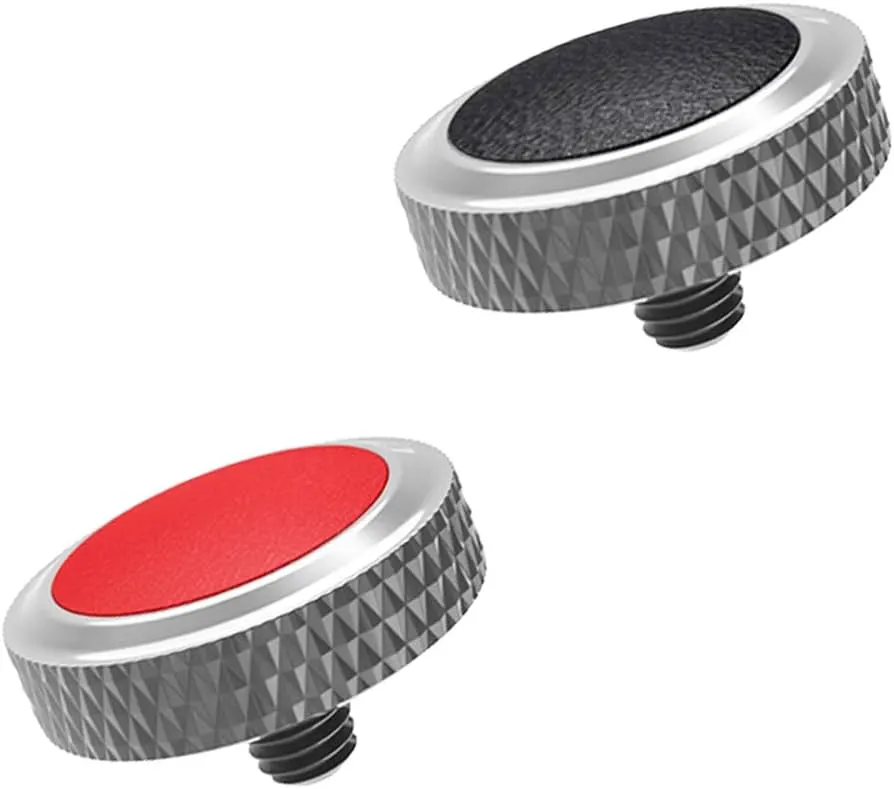
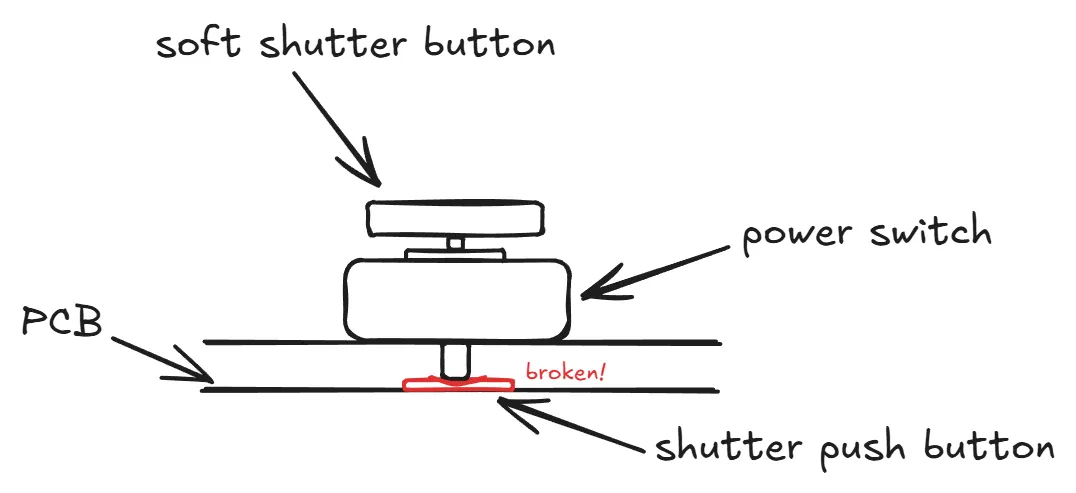
I was using one, and due to how the X100V is built, this accessory allows the shutter button to potentially receive way too much force and get damaged or destroy. If you happen to drop your camera as I did, the shutter button WILL get wrecked. Let me explain in more details with a schematic.
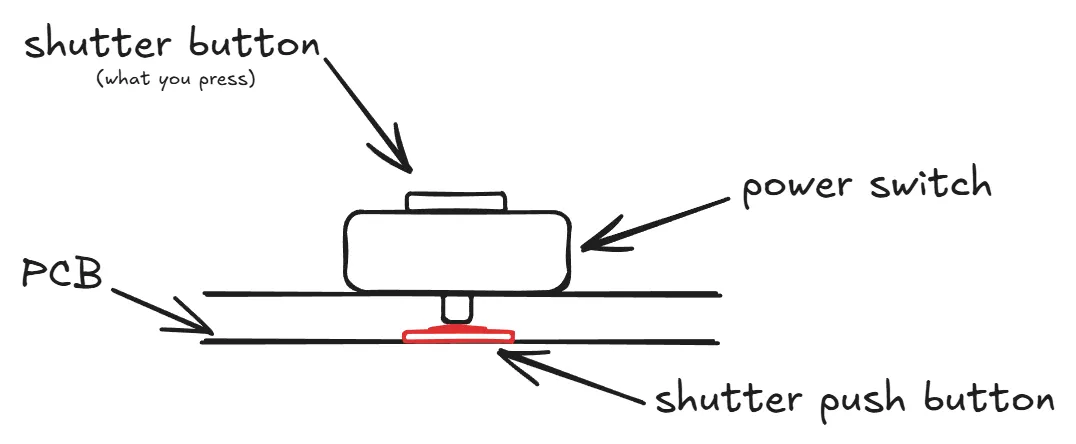
This is how the shutter button works. There is a direct mechanical contact between the outside button you press, and the shutter button soldered on the PCB.

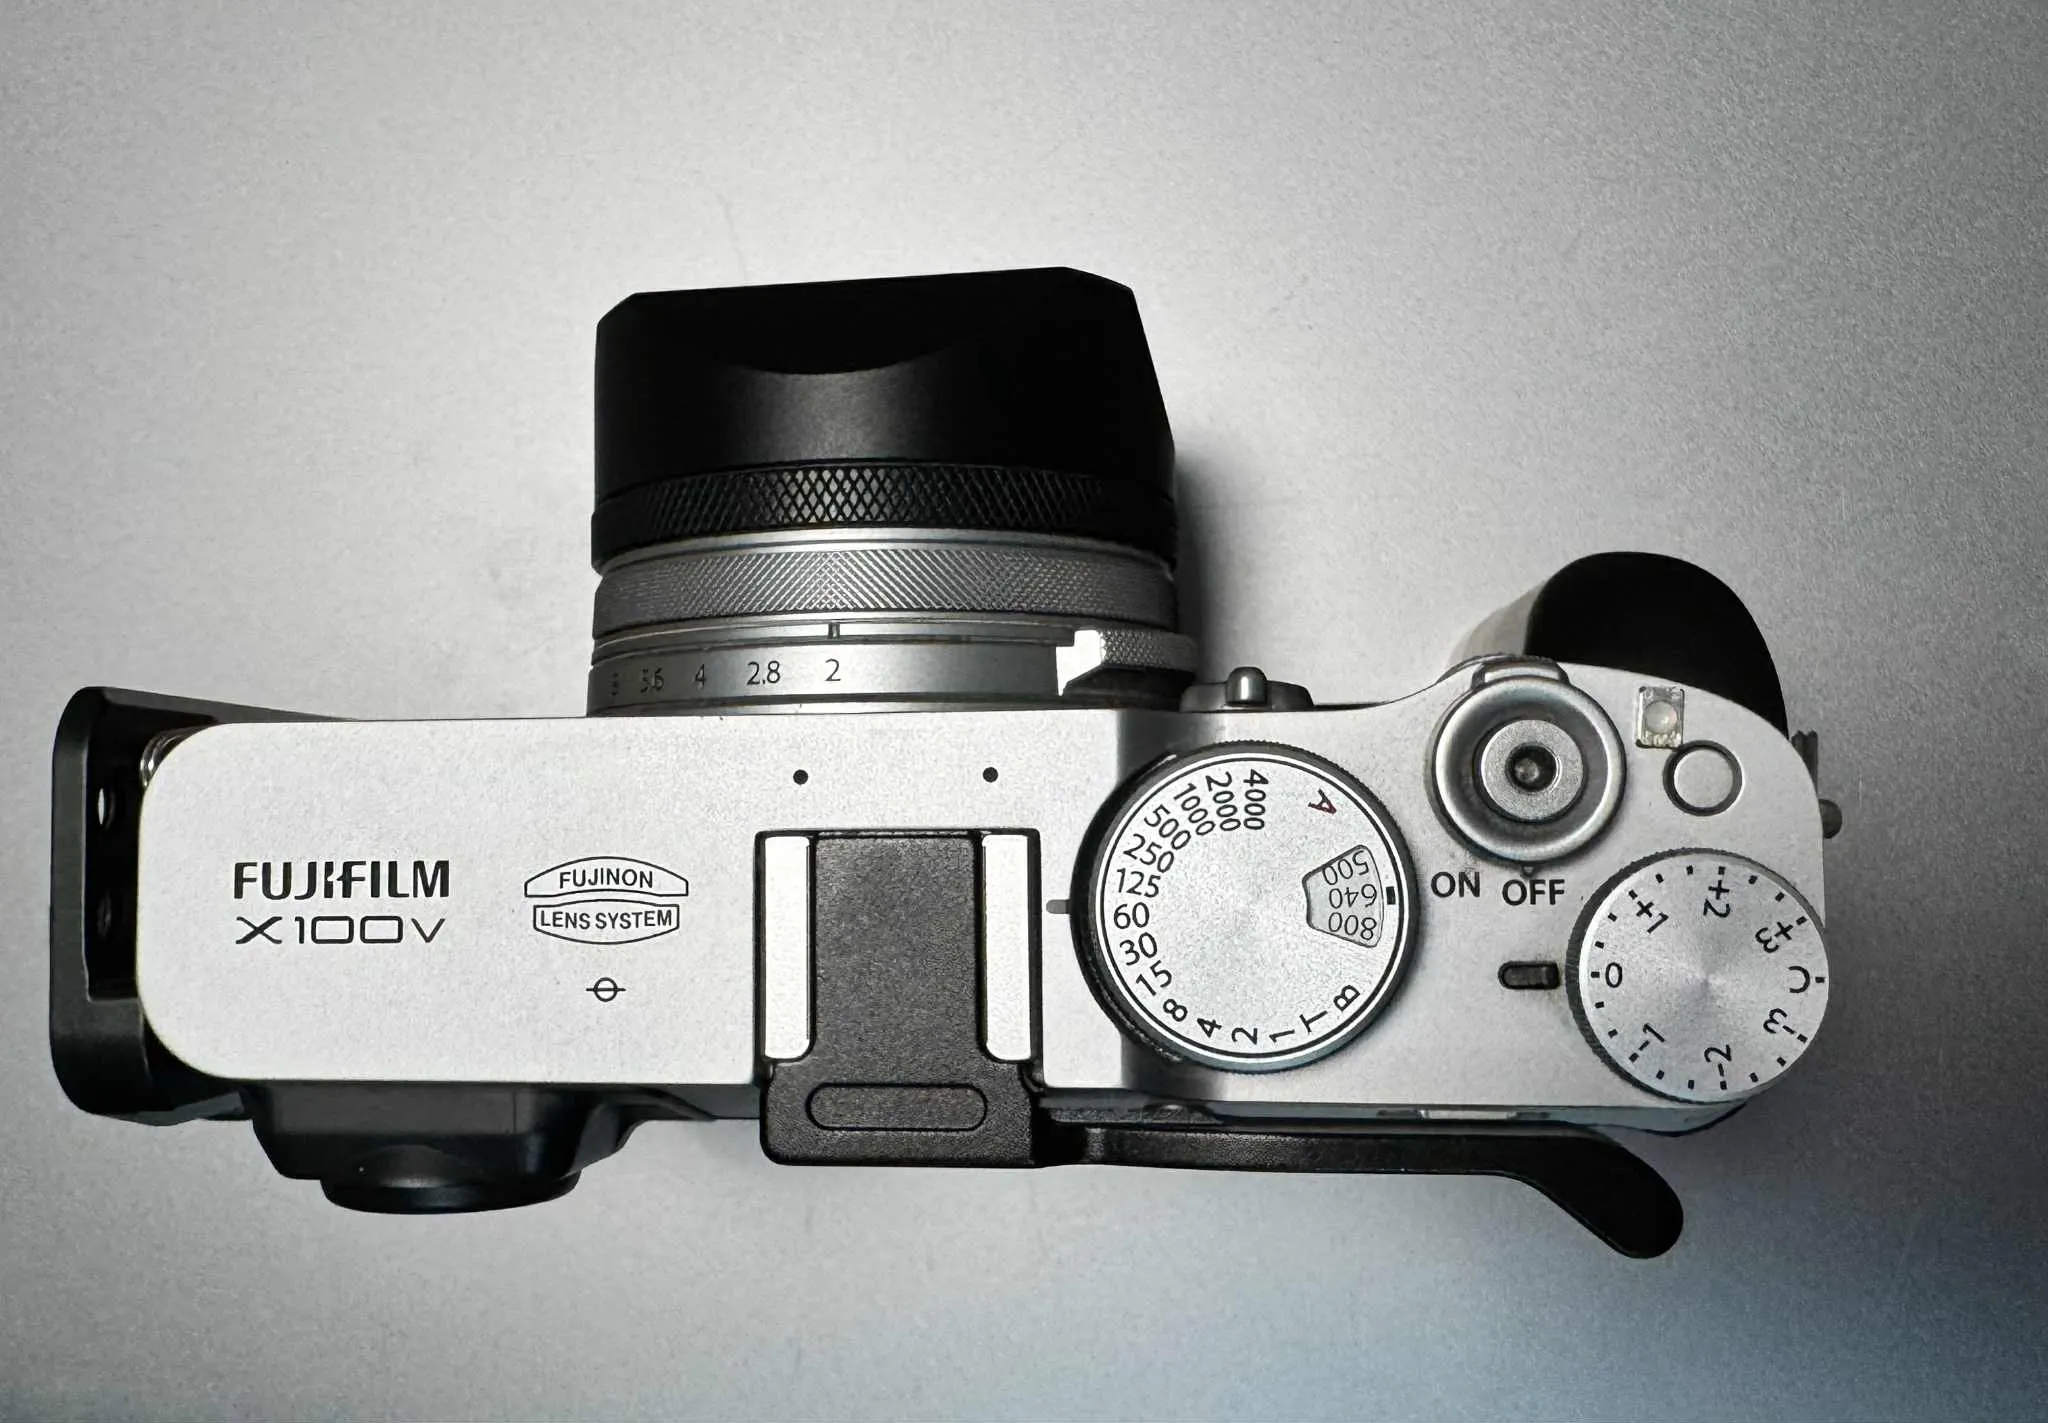
Here is a picture I took to show you the size of the shutter push button:
So, how does this button get destroyed?
When you trigger autofocus or take a picture, this happens:
But when you use a soft shutter button, a lot more force can be applied on the push button. Of course, if you’re careful, it’s not a problem. But it takes just a tiny bump on the soft shutter to pile-drive into the underlying push button.
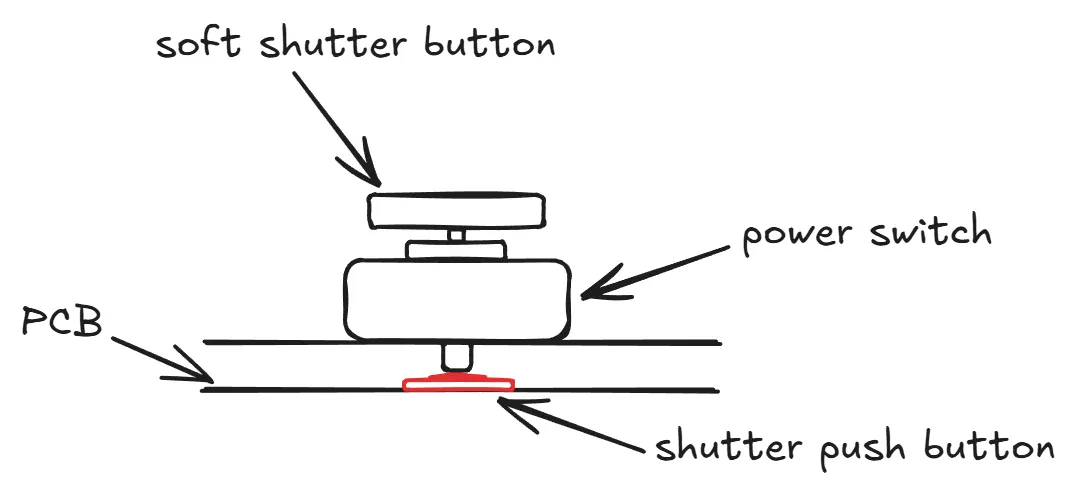
If you’re unlucky, the button will get damaged.
Here is what my button looked like after being damaged:
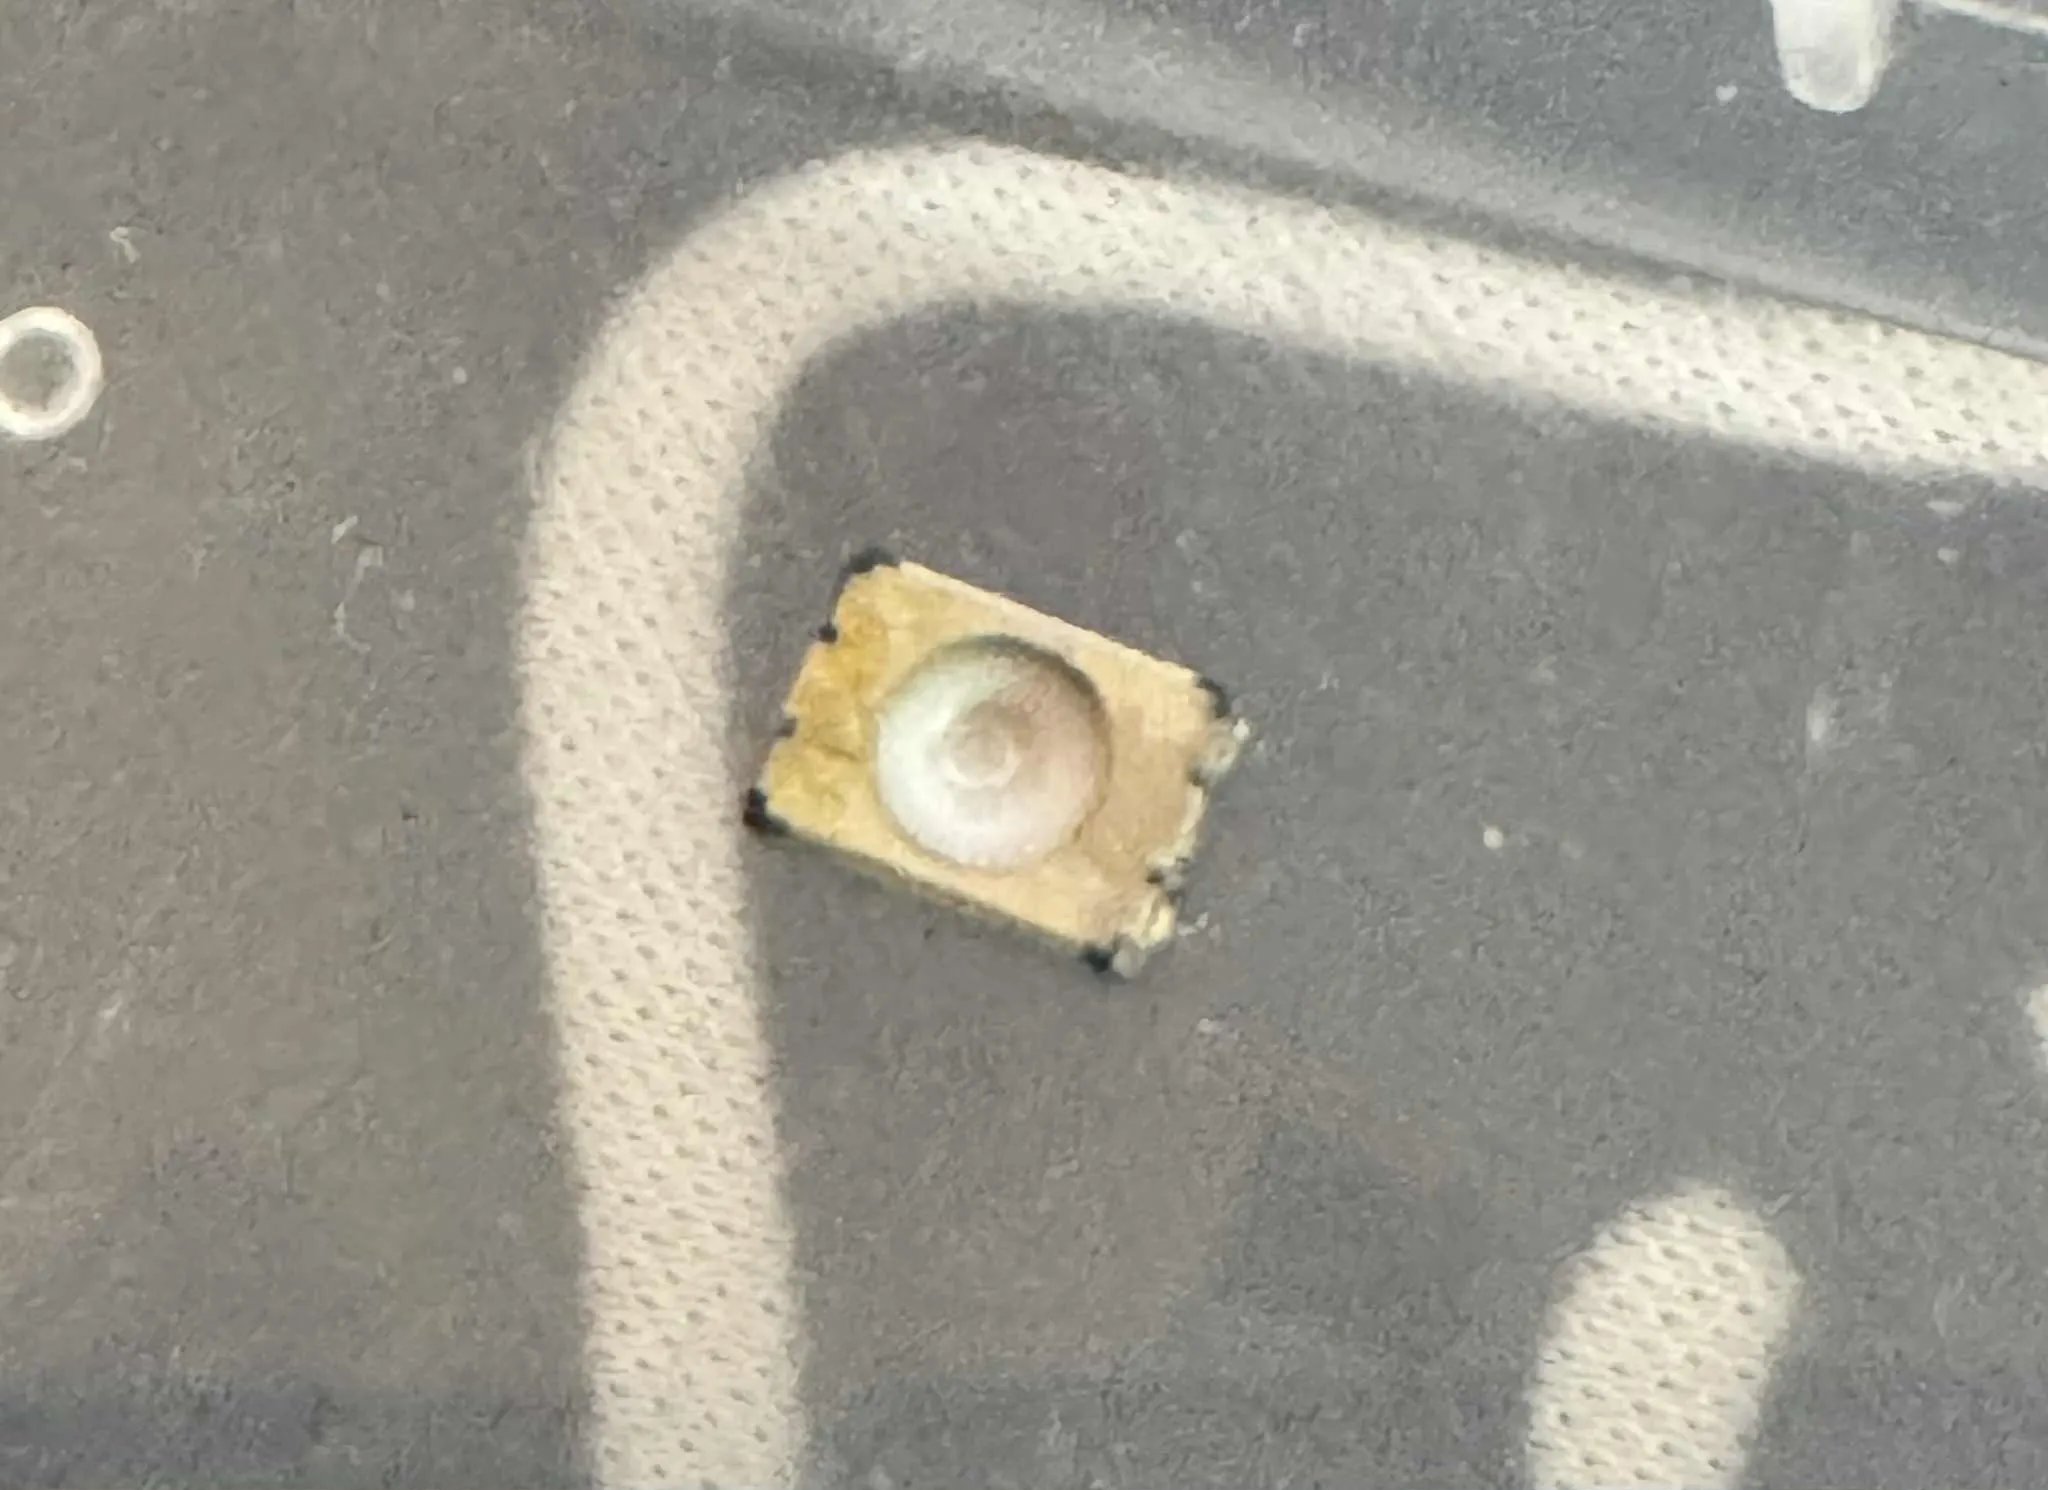
We can see the “impact”, the button got smashed. When undamaged, it looks like this:
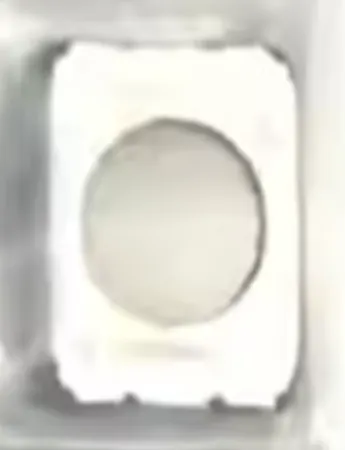
The button itself is a simple tactile push button, with two stages: half pressed, and fully pressed.
After this button is broken, is it fixable? As I said, I searched extensively and found a lot of people that had the same misadventure, almost always because they were using a soft shutter release attachement. I was using one, and I think this is a design flaw from Fujifilm: the shutter button has got a threaded hole MADE FOR using a soft shutter attachement. Using one it not something that falls outside acceptable or classic usage of the camera, it’s a feature of the camera. This feature should not make it so easy to destroy the shutter push button.
So, once this has been said, it’s time to talk about repairing possibilities.
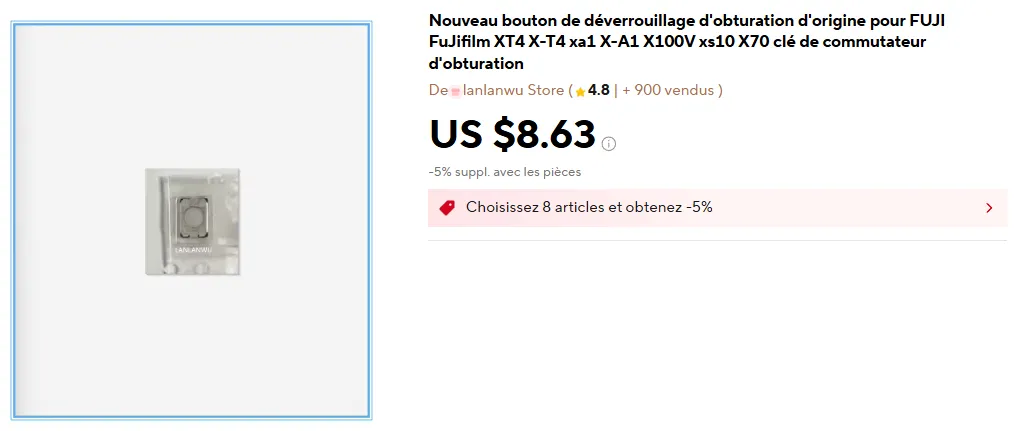
The first option is to either send your camera to Fujifilm, or find a repair shop / technician that is able to perform the repair. The repair is quite simple to grasp: the button just needs to be replaced. The part is available on Aliexpress (that’s where I bought mine) and costs a few dollars.
The repair process is quite involved, and requires to almost fully disassemble the camera to access the shutter button. I’ve seen various prices for professional repair discussed on forums, and the average repair cost in a repair shop is around 400$. I don’t know if Fujifilm still provide repair services for this issue, but I guess the price would be higher.
The second option is to do it yourself. You need patience, a screwdriver, and some soldering skills.
It’s easier than replacing a recent iPhone screen, but impossible if you don’t have some soldering experience.
I had a lot of luck, because a repair technician uploaded a youtube video with the entire repair process for this exact problem (only the soldering part is missing):
This video is not really a tutorial, it’s more a showcase of the skills of the technician and their capabilities, but it’s a very good support material.
If you take the DIY repair route, here are some advices I can give after going through the repair process myself:
•
Don’t be scared to remove the outer stickers/skin, they are quite resistant, and they can be put back without extra glue. I was dubious, but after removing them and putting them back, there is no trace of the disassembly. Remove all of them and put them away before starting the disassembly.
•
Be VERY careful and gentle when you disconnect ribbons. There are various ribbon connectors used in the camera: some require to lift a little black lever, some require to lift a white lever while still having a black part. If you try to lift the black part on the wrong kind of connector, you’ll damage or destroy it. There are also a lot of “force” ribbon connectors that just require you to pull on them. Don’t use sharp tweezers to pull on them, you’ll tear them. Instead, take your time, and use plastic tools.
•
Of course, try not to loose any screw. Prepare a few glasses / cups / etc to store them, grouped by gross order of disassembly.
•
When you’re about to take off the top part, you’ll notice two black and red wires. They are connected to a capacitor sleeved in white heat-shrink wrap. You can just pull on the capacitor, it’s not attached in the main camera body.
•
When the top part of the camera is disconnected and you make your way to the shutter button, be extra careful when removing the shutter speed / ISO selection dial. There are two minuscule balls (  ) with tiny springs that create the “steps” when you turn the dial. These two parts can fly away easily, and you won’t find them back!
) with tiny springs that create the “steps” when you turn the dial. These two parts can fly away easily, and you won’t find them back! •
When unsoldering the button, first apply low-melt solder on the broken button pads, and melt it with the original solder on the PCB. Then, use some wick to remove the solder, and then remove the button. Don’t pry the button off, you’ll destroy the solder pads. Don’t use excess heat for too long, or the plastic under the PCB will melt. I worked at 180° (Celsius) without issues, and low-melt solder with a 138° melting point.
•
Once the old button is removed, apply solder paste on the pads, and position the new button in place. Take note of the original button position (I don’t know if the button has a top or a button, but there are markings on it). Now is the hardest part, use your soldering iron to solder the new button. I don’t have any advice for this part, you need to have the required skills. Hot-air could be used, but I think it will just melt the plastic under the PCB.
•
Once the new button is soldered, put the top-half of the camera back. You can test the camera as soon as it’s done using the viewfinder to check if the button is working. Once you’ve confirmed it’s working, you can fully reassemble the camera.
•
Expect the entire operation to take 4 hours, and I recommend taking a pause after disassembly and before soldering. Don’t try to rush it, mistakes often happen this way.
•
Lastly, don’t worry about damaging the camera optics or sensor. This repair never involves these parts, they won’t be exposed to contaminants by performing the disassembly.
I hope this helps someone, and thanks to DIGI SERVICES for the video he made. If he hadn’t shared his knowledge, I wouldn’t have been able to fix my camera. He can fix your camera for you via mail-in orders (he’s in Bulgaria), and I think he’s not too expensive, and positively reviewed.